oggi vi mostro una serie di cinque biglietti che è nata da un esperimento con la tecnica di mascheratura. Mi sono ritrovata con diversi pezzi in mano che non sapevo bene come usare e che sono rimasti in attesa di idee per circa un mese. Ho completato i biglietti solo negli ultimi giorni. Alla fine del post troverete un mini tutorial fotografico.
Good morning, crafters,
today I show you a bunch of cards I created while doing some trials of masking. I got some pieces that I didn't know how to use and I that were left of the table for a month while I was looking for some ideas. I have completed the cards just these last days. At the end of the post you'll find a mini photo tutorial.
#1
Questo biglietto e il n°3 sono stati ricavati dallo stesso cartoncino. In questo caso ho usato il negativo della fustellata, nel terzo il positivo.
Ho timbrato il testo e l'ho embossato con la polvere oro. Il colore giallo dello sfondo è di un tampone Distress. Sotto ho aggiunto una striscia di gomma crepla blu glitterata in cui ho fustellato la parola "celebrate".
This card and #3 came from the same cardstock. In this case I have used the negative of the die cut, in the third one the positive.
I stamped the text and embossed it with the gold powder. The yellow of the background was made with a Distress inkpad. I have put below a strip of blue glitter foam where I die cut the word 'celebrate'.


#2
Questo biglietto l'ho fatto usando il biglietto n° 1 come stencil. Ho sfumato la stella con il Distress giallo e uno stencil che fa una specie di onde timbrato, poi ho timbrato ed embossato con l'oro il testo nella stella.
Poi ho mascherato la stella e ho sfumato la parte esterna con un Distress blu. Ho spruzzato delle gocce di acquerello oro e ho aggiunto la fustellata che ho ottenuto dalla striscia di gomma crepla del biglietto n° 1.
I used card #1 as a stencil to make this card. I shaded the star with a Yellow Distress and a wave-like stencil. Then I stamped and embossed the text in the star with gold powder.
Then I masked the star and shaded the background with a blue Distress, I sprinkled some gold watercolour and added the die cut I got from the foam strip of the card #1.


#3
In questo caso ho creato prima una sfumatura gialla sullo sfondo, poi le false cuciture con una fustella che vi mostrerò dopo. Ho spruzzato l'acquerello blu e oro e ho applicato con del biadesivo spessorato la stella che avevo sfumato col blu e su cui avevo stampato con l'oro il testo che avete già visto.
In this case I have shaded yellow on the background and then made the fake stitching with the die you will see below. I sprinkled gold and blue watercolour and put in the middle the star with some foam. I had shaded the star with a blue inkpad and stamped and embossed the text with gold.


#4
Per questo biglietto ho fustellato due stelle e poi ho messo questo cartoncino sopra un altro fissandolo con del nastro adesivo. Poi ho posizionato sopra lo stencil e ho passato un tampone Distress azzurro. Mi sono ritrovata, così, con due cartoncini, uno positivo e uno negativo, con due stelle a righe blu.
Poi ho messo dell'acetato sul retro del primo cartoncino e ho creato la shaker card. Con il secondo cartoncino ho fatto il biglietto n° 5.
Infine ho timbrato la scritta che ho preso da un set della Lawn Fawn, ne colorato i bordi con l'acquerello oro e l'ho applicata sul biglietto con del biadesivo spessorato.
To make this card I die cut two stars and put this cardstock on another one fixing it with some tape. Then I put a stencil on them and coloured the stars with a blue Distress inkpad. I obtained two cardstocks, a positive and a negative one, with two blue-striped stars.
Then I put acetate on the back of the first cardstock and I made the shaker card. I used the second cardstock to make card #5.
I stamped the sentiment from a Lawn Fawn set, I coloured the edges with gold watercolour and I put it on the card with some foam.


#5
Per fare questo biglietto ho usato il secondo cartoncino della spiegazione del punto precedente.
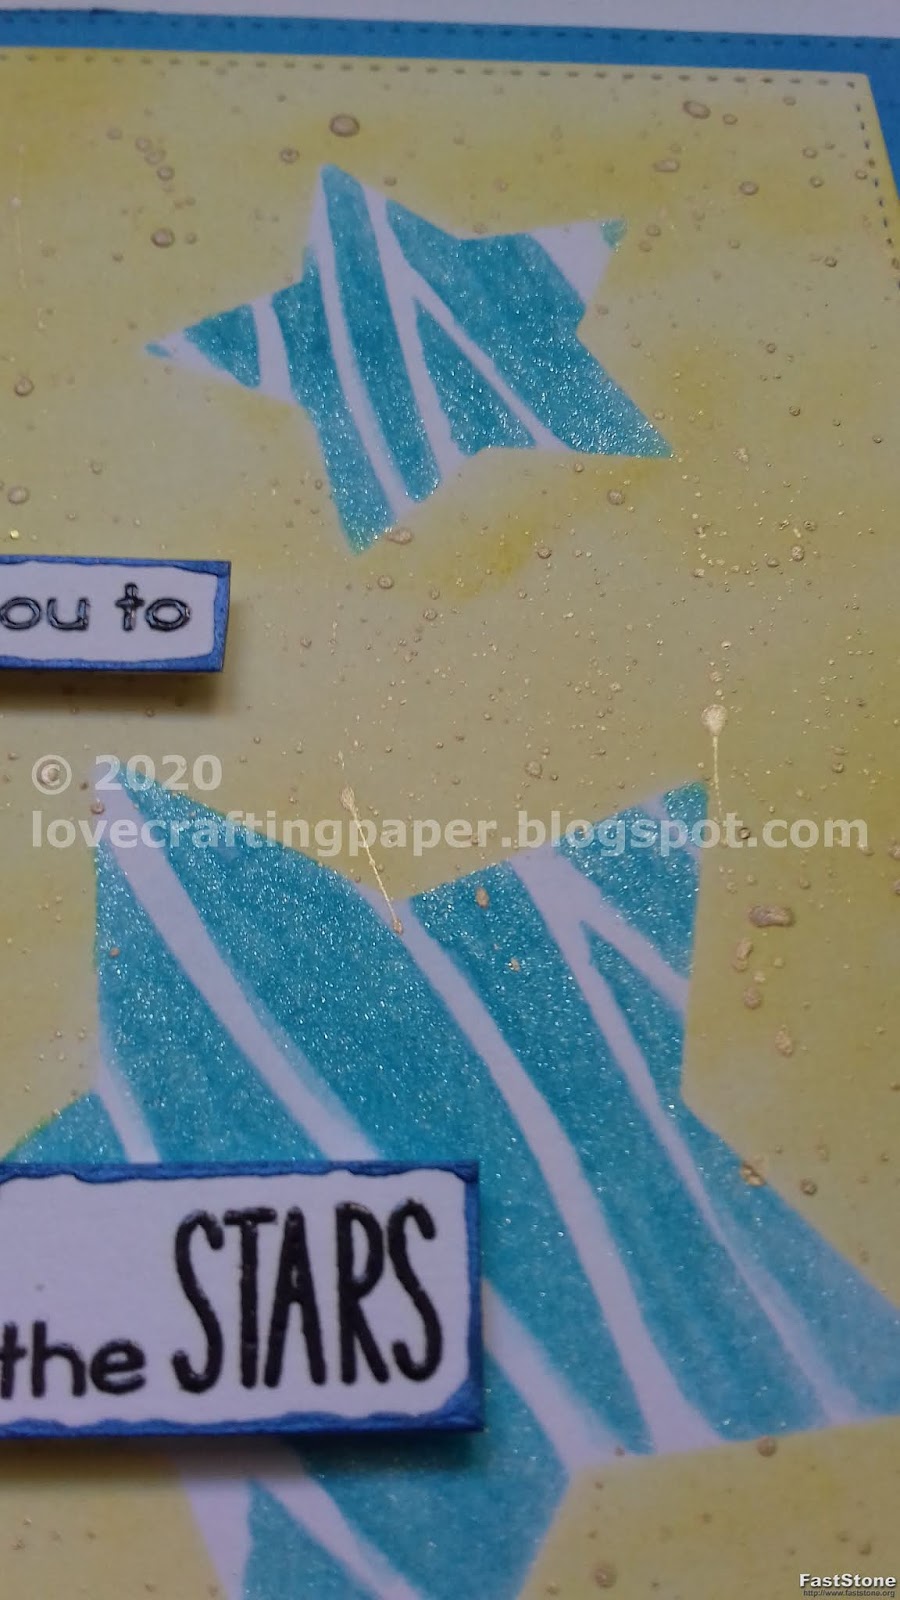
Avevo il cartoncino con le stelle a strisce blu. Ho rimesso sopra lo stencil e l'ho usato come guida per passare sul colore blu il Wink of Stella e dare brillantezza. come vedrete meglio più avanti.
Ho fustellato altre due stelle da un foglio di carta e le ho messe sulle stelle blu per mascherarle. Poi ho colorato il resto del rettangolo con un tampone Distress giallo.
To make this card I used the second cardstock I told you about in the previous step.
So I had the blue-striped stars cardstock. I put again the stencil on it and used it as a track to paint the blue stripes with Wink of Stella and make them shine. You will see this better below.
I die cut two more stars in a paper sheet and put them on the blue stars to mask them. Them I coloured the rest of the rectangle witha Yellow Distress inkpad.

Prima di togliere la mascheratura ho schizzato dell'acquerello oro.
Alla fine ho messo la stessa scritta che avete visto nel biglietto precedente, ma ho colorato i bordi con l'acquerello metallizzato blu.
Before taking away tha masking, I sprinkled some gold watercolour.
Finally I put on the card the same sentiment you saw in the previous card, but I coloured the edges with metal blue watercolour.


Ecco tutti e cinque i biglietti insieme.
Here are all the cards together.


Adesso potete vedere alcune fasi di lavorazione.
Now you can see some steps of the making.


Spero che questi biglietti vi siano piaciuti!
I hope you like these cards!
Partecipo alle sfide con il biglietto n°1.
I join the challenges with card #1.
Sfide / Challenges:
Audsentiments, Challenge #248, ATG + a sentiment (Card #4)
Avenue Create 613, Challenge #232, ATG w/optional twist Use Geometric papers
Colouringinscrapland, 6th April, Heat or cold embossing
Creativeartistemixedmedia, Challenge #59, ATG
Creativefingers, Challenge #183, ATG
Everybody-art, Challenge #466, Kids
Kraftychickschallenge, Challenge #501, Stamp Act
Letscreatechallenges, Challenge #158, ATG + option Through a window
Lilredwagon, Challenge #543, Blue
Scrapbookingitaliablog, 6th April challenge, Blue
Scrapperdellanotte, 1st April challenge, L-I-L-Y (Card #4: Luce - light, Impunture - stitching -, Love - presente nella scritta, Yellow)
Unikostudio, Challenge #58, Spots & Stripes + optional twist Use a Stencil (Card #2)

Super cards. Loving all the sparkle. Thanks for joining Aud Sentiments challenge. Elaine
RispondiEliminale tue card sono fantastiche! Io poi ho un debole per le stelline... e adoro!
RispondiEliminaGrazie per aver giocato con noi di Scrapbookingitalia
Gorgeous card. I like how you've used stars so differently for each one! Thanks for joining us at Krafty Chicks Challenge this week xoxoxo
RispondiEliminaWOW, beautiful sparkly shaker cards..fabulous..Thank you so much for joining in with us at 613 Avenue Create..hope you will play along again..
RispondiEliminaLuv CHRISSYxx
Lovely shaker card. Love all that sparkle. Thank you for joining us at Creative Artiste this month. Judy DT
RispondiEliminaHello, Mariangela
RispondiEliminaI´ve read in Colouring in Scrapland blog that you would like to enter our challenge but you had a problem with the Linky.
The linky is now working but I can´t enter this card, I´m sorry but the main requirement for our challenges is that your creation must have a coloured image in it.
So sorry and thank you for letting us know
Fab selection, great colours and love the touch of sparkle. Thanks for joining in with the Aud Sentiments Challenge, keep safe.
RispondiEliminaJenny (AKA the Ginger Ninja!) Aud Sentiments DT
Stars in my eyes in seeing all your lovely star-versions! So thrilled to see you in the Uniko gallery!
RispondiElimina~carol
Ma quante stelle!!!
RispondiEliminaBravissima
Grazie per aver giovato con noi!
Claudia DT Scrapbookingitalia